Showing posts with label Before/ After. Show all posts

Sunday, February 20, 2011

An Old Door, made new again

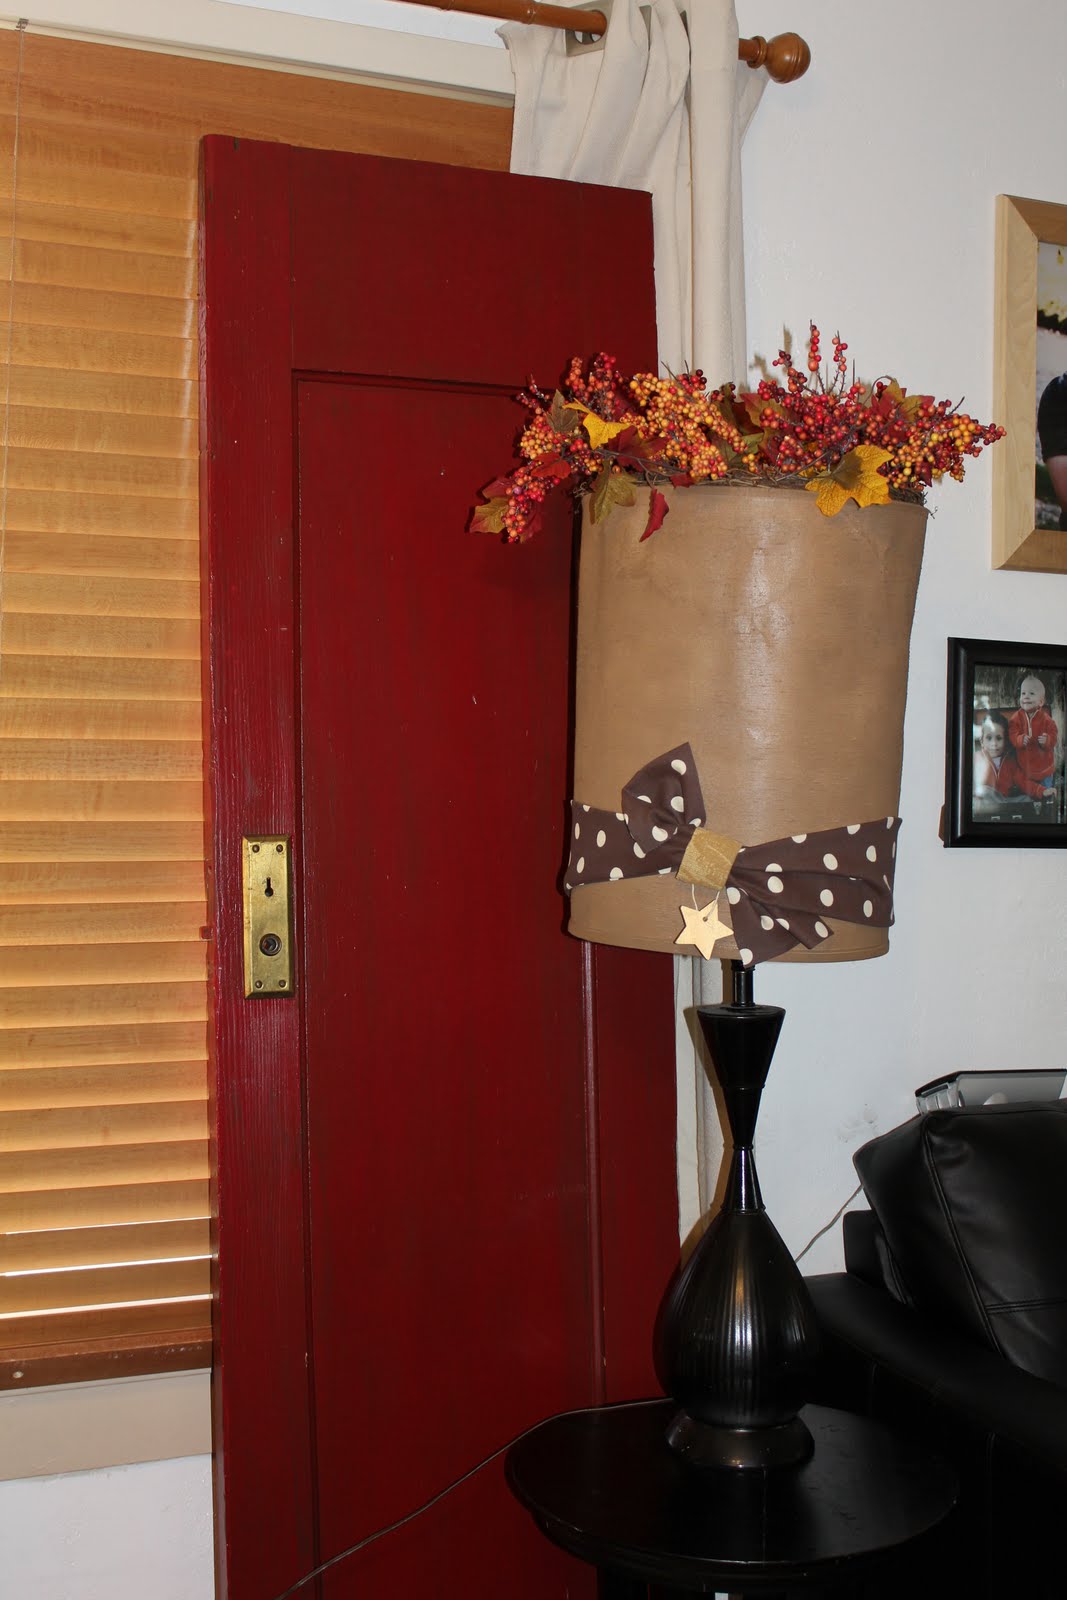
This old door was in my crawlspace when we moved into this house... along with about five others. I am a sucker for old doors, and antiques in general, so when I saw it, I knew I needed a red door to spice up my living room! Here it is next to my DI LAMP:)


Sunday, December 12, 2010

A twin for my cedar chest!

I went visiting teaching last week, and I received a blessing...
All of a sudden, Leslie said "Hey I have this chair...do you want it?" And I was like "Oh my gosh! This is a blessing for coming to visit teach!!" I LOVE this chair! And I was hesitant to even do anything to it, cause it was already so dang cute! BUT, I have been wanting to balance out my living room....so I made it a twin to my cedar chest:)
Just painted it, getting ready to glaze and seal it.
And here it is now!:

I know it is a drastic change from what it was before...and I love both looks! But, this matches my room better...AND I can use it as a new photography prop! Bonus!!


Wednesday, December 8, 2010

Bad memory to Good memory

I know a man who made this in high school. That man is a BAD man, and since I always thought this was ugly, I decided to refurbish it and make it into a good memory...and a cute piece of furniture!
Here is the ugly wood, and the bad memory...

And here is the cute new memory! It's now a piece of cute furniture for my boys' room!


Thursday, December 2, 2010

Gotta Love a RED CHAIR!

Ready to have a makeover!

I have been searching for a chair that I could paint red to use for my photography, and I found this little Thrift Shop and went in and saw this simple wooden chair for $5! I bought it, and carried it out to my car where my husband was waiting...when I opened up the back to stick it in my car, my husband just rolled his eyes at my new treasure:)Anyway, here it is in action! Look at that cute bundle on top of it! ADORABLE!


Wednesday, December 1, 2010

Just an after...


Dang it! I can't find the before picture to this big vase anywhere! But here is the after shot of it at least. About a month ago I re-decorated my bathroom with blue and brown. This vase was hideous. It was black with gold accents. So I spray painted it turquoise and then glazed it with my fav glaze, and it looks soooo much better now! If I ever find the before pic, I will post it so you can see the transformation:)

Sunday, November 28, 2010

Once was old, now is new...


I wish I would have remembered to take a before picture of this...but I remembered to take one just after I had primed it. So, just imagine the ugliest color of wood...and that was it. So, the top picture is the white primer...But anyway, here is what it looks like now!:

Huge improvement if you ask me! I love this sage green color. It is actually the same paint I used on my front door and the accent color on the exterior of my house.
So, if you are wondering how to refinish something of your own, here is the rundown of what I did:
1.Prime it! Use and OIL BASED primer- I used Kilz Original- found at Home Depot.
2.Paint it! Any color you like!:)
3.Paint it again! Only if you think it needs a second coat though...if you like the way it looks, more power to ya!
4.Glaze it! This was my first time using the glaze, and I totally LOVE it! I used Ralph Lauren Faux Technique Glaze, tinted Tobacco. You get it at Home Depot, but make sure to ask them to tint it for you! Then just brush it on, and really get it into the cracks, and then wipe the excess off with a rag. This is by far my favorite step, cause you can get really artsy with it. It totally changes the piece!
5.Seal it! I used a high gloss sealant- Minwax Polyurithane. This stuff stinks. Just FYI.
6. Let it dry and you are done!

P.S. Let each coat/step DRY COMPLETELY before you apply the next. I learned this the hard way. I was so excited to get my glaze on...cause it's my fav step...and when I started rubbing the excess glaze off with my towel, it rubbed off some of my paint job too! Lesson learned.


Thursday, November 18, 2010

Accessorizing my living room

I painted these canvases a few years ago, and I still really like them, but they don't match my new living room, so I decided to cover them with fabric! Seriously, it took like two minutes and they look awesome! No sew, no glue. Just a staple gun and some fabric!
Here it is after! If you can't tell, I used the same fabric as my cedar chest cushion and pillows, and added the red star for a splash of color. I like to use the same fabrics in repetition throughout the room to make it come together. Love!


Saturday, November 13, 2010

Cedar Chest Makeover!

I have had this old cedar chest for a few years now. I bought it at the DI for like $50, and said that I was going to give it a makeover...well, four years later....I did! I'm not gonna lie. I'm kind of conservative...so this was a huge change for me and when I painted it yellow, it was YELLOW. Like canary yellow. I about cried, cause I hated it. Then the next day I was gonna paint over it and decided to just glaze it with my Ralph Lauren faux technique glaze, and I totally LOVED it! So I learned my lesson- don't give up before you see the whole project done! Then you can always paint over it if you hate it. Anyway, here is the BEFORE:
And the AFTER:

After glazing it, I reupholstered the cushion with some (not very conservative) chocolate and white polka dot fabric. And I was a little apprehensive about that, but I totally love it!! I think every room needs a "statement piece" and this is totally it!:)


Sunday, September 5, 2010

My front door

Paint can make such a huge difference! I wasn't crazy about...well most of this door. So, I took the knobs apart, and spray painted them silver. Then I taped off the window and painted the trim white (instead of that awful coral color), and painted the whole door a cute dusty sage color! I love it. And I especially love the hook (that matches my door knob now), that holds my super cute wreath. Oh, and I even painted the yellowed door bell!
I still have to paint the trim, but that will happen when we paint the other accent colors that are still CORAL! So, be looking for pictures soon!


Tuesday, August 31, 2010

Sneak peek into my remodeled bedroom

I know I said I would post pictures like forever ago, and I didn't, so here is one picture, that shows just a peek of the massive overhaul we did on our bedroom. CLICK HERE to see what it USED to look like!!
After I put some pictures up and get my curtains up, I will post some real pictures of the whole room!


Sunday, August 29, 2010

My favorite bench


Growing up, my family had a tradition. We would all go out and sit on the bench in our front yard. I lived in the middle of the city, so it's not like it was a serene place to be. BUT, we LOVED it! We loved watching people, and talking, and just hanging out together. So, when I got married, a family friend gave me this bench, in hopes we would continue our family tradition! We moved it to four different apartments, and finally to our first starter home! It was a little worn though, so I thought I would...you guessed it...spray paint it! I did it all white, since the trim on my house is white, and it looks really cute on the porch now:)


Wednesday, August 25, 2010

Can you spray paint ceiling fans?

YOU BETTER BELIEVE IT!!
First I took apart every little piece of this ceiling fan... every screw. It took forever...oh and later that day I got the flu, and so I didn't get very far for a few days. ANYWAYZZZ, I first hosed off all the fan blades so they were nice and clean. Then I let them dry. Then I spray painted them white. Then my husband helped me get the whole fixture off the ceiling, and he spray painted them silver. Here is the part that SUCKED: We didn't wait long enough for the silver paint to dry. We were too excited to see how nice they would look up, so we put them back together, and then turned them on. Silver paint splotches EVERYWHERE! On my NEW black leather sofas, our wood floor, our recliner, our clothes, our KIDS...ya, you get the picture. It made for a lot of clean up. So, WAIT til they are completely dry!! Oh, and only spray LIGHTLY onto the part where the motor is. My husband sprayed a little too much on one of them, and when we turned it on, we could hear the motor TRYING to turn, but it wouldn't. So we left it on for a couple nights, and then it worked fine. It was just really sticky from the paint that was still wet. So those are my two tips... of what not to do. But, I must say, I am VERY happy with the outcome of this project!!


Saturday, August 21, 2010

Ugly lamp re-vamp!

Can you believe THIS:

USED TO LOOK LIKE THIS!:


I got this big drum lamp at the DI for $2, and brought it home and spray painted it! It now looks nice and classy in my front room:)


Monday, May 24, 2010

Stepstool Makeover!

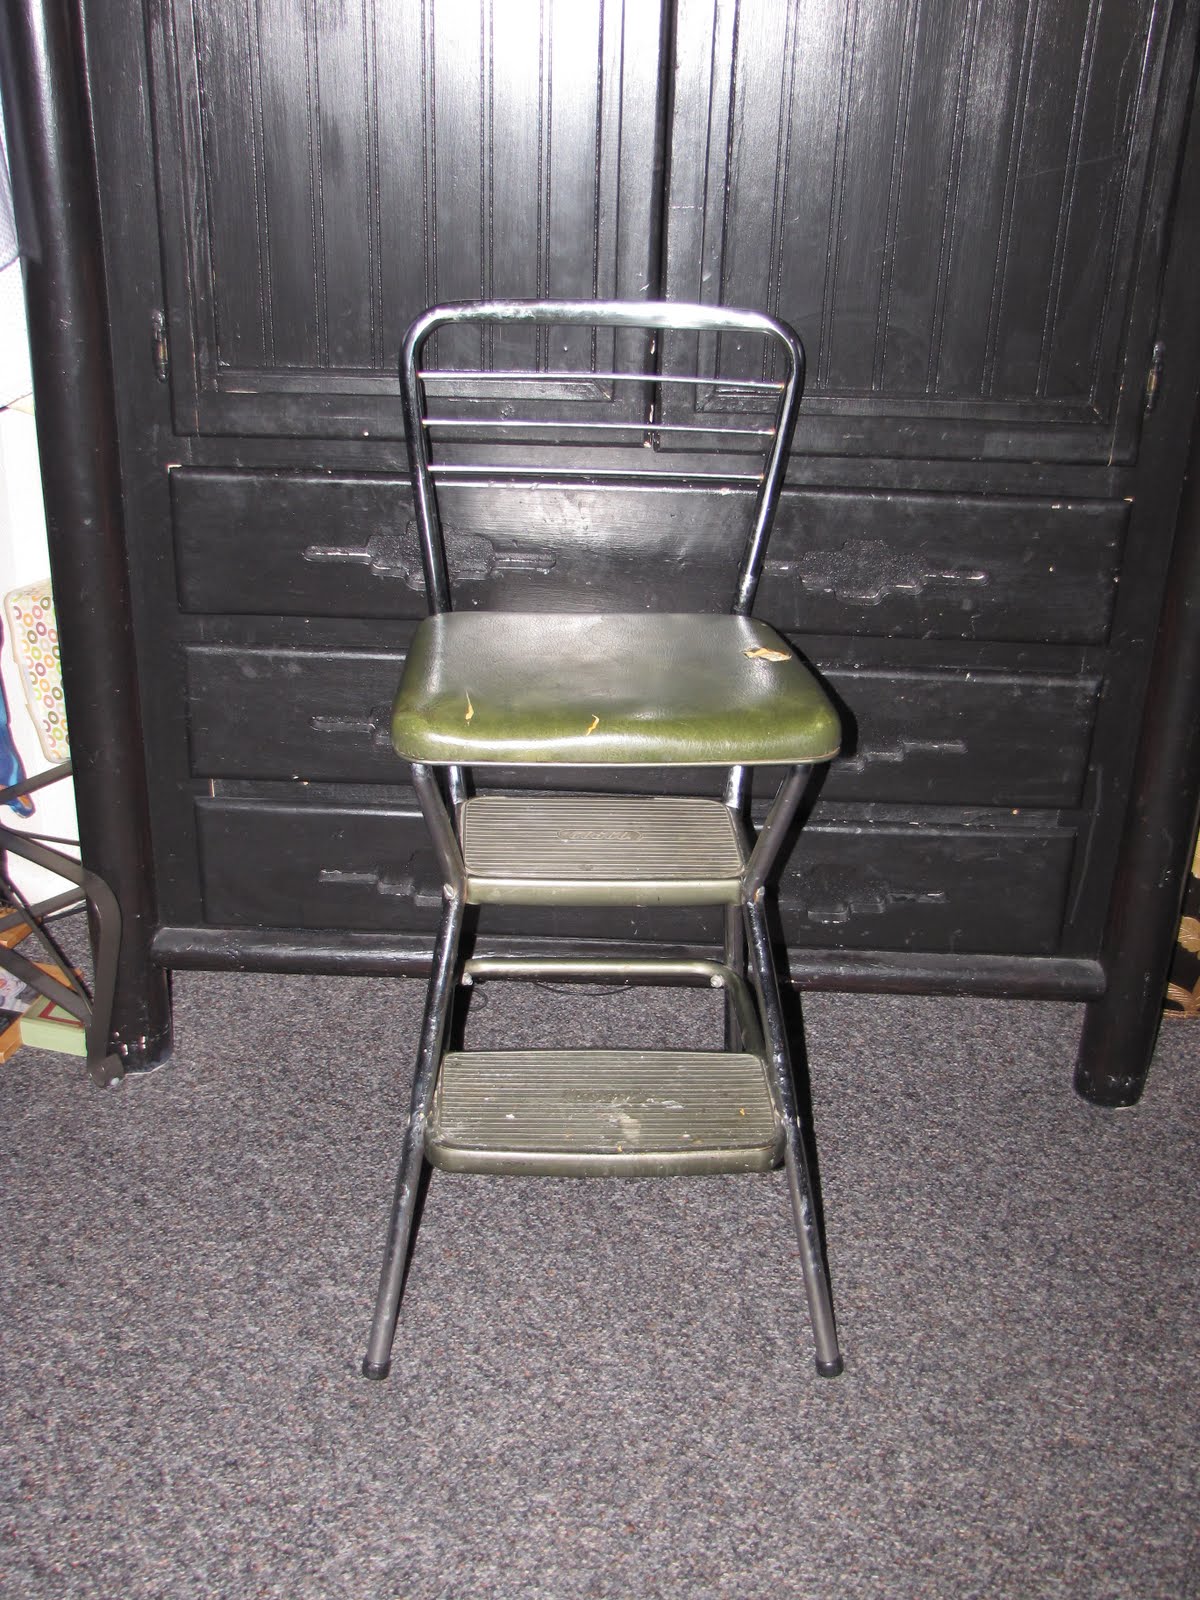
(My little boy couldn't understand why I was taking a picture of an empty chair, so he went ahead and sat on it for me. How sweet he is!:) We got this retro stepstool a while ago at the DI, and have been using it as my little boy's high chair- with a booster seat on top of it. But now it is too high for our new kitchen table. So I took the booster off, only to remember that it looked like this underneath!:


Sick, huh?
So I got out some of my favorite fabric, and reupholstered it! I also gave it a major cleaning, cause if you have kids, you know that where they eat is probably the messiest place ever! So here it is before:


And here it is after!:
Major improvement!


Thursday, May 6, 2010

Sneak peek of the work I've got ahead of me!

We just bought a house- we start moving in next week! But it has got some serious work to be done! Check out the sick wall paper!! I can't wait to get my hands on this place and beautify it!!

Paneling...nuf said. And the south-western decor has gotta go!
I love this little house, and can't wait to start updating it! Stay tuned, cause there will be some MAJOR before and after posts for this one!:)